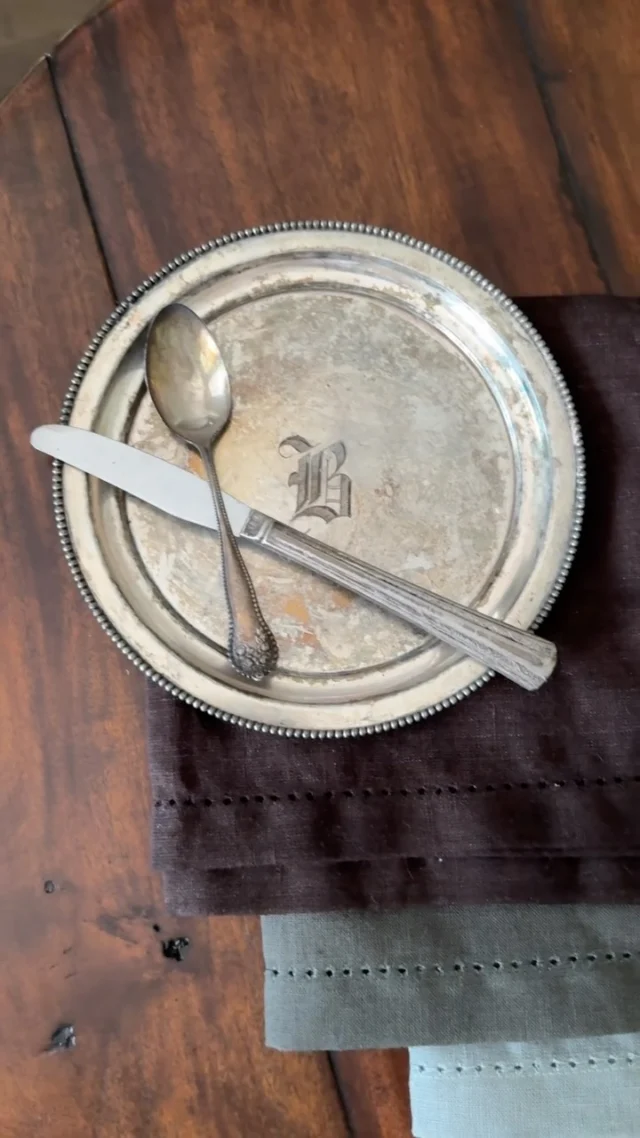
There are some recipes I think everyone should know how to make from scratch, and a good homemade pie crust is certainly one of them. This easy pie crust recipe is made by hand with just four simple ingredients: flour, butter, salt and ice water. You don’t need a food processor or any special equipment, just a bowl, a fork or pastry cutter and a rolling pin. It’s my simple, all-butter method for making a flaky homemade pie crust from scratch, whether you’re making apple pie, pumpkin pie, quiche or another favorite family recipe.
A good pie crust is one of those old-fashioned kitchen basics that can feel intimidating until you’ve made it a few times. But the process is actually quite simple. The secret is really in keeping everything cold, not overworking the dough and giving it time to chill before rolling.
This is my everyday all-butter version, and it makes a flaky, tender crust with so much more flavor than anything you’ll find at the grocery store. I use it for everything from my homemade apple pie to pumpkin pie, but it’s just as good for a savory quiche or tart.
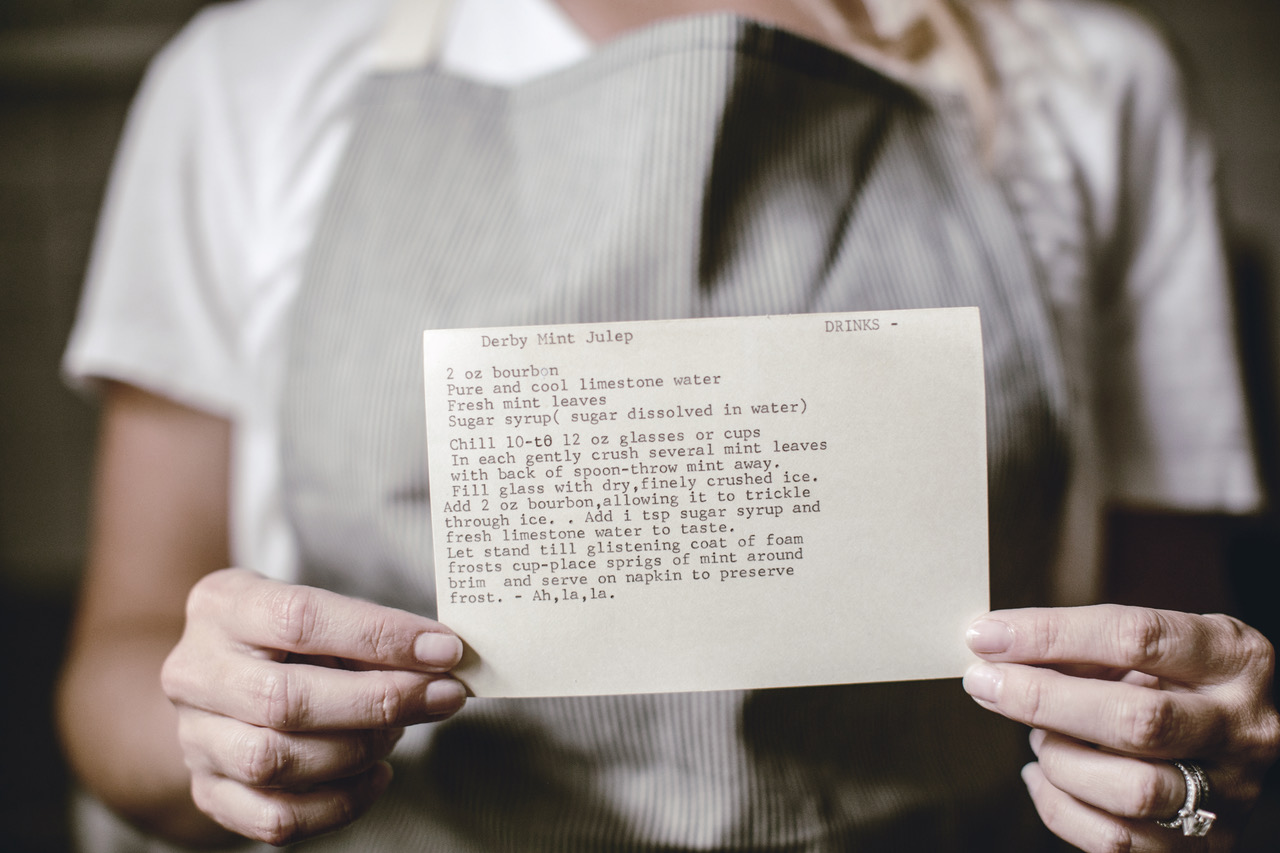
And because I can never share a family recipe without going back to where it started, I’ve included my great-grandmother Nana’s original shortening pie crust below, too. Her handwritten recipe uses Crisco, which is the crust I grew up eating and the version my mom still makes today.
Why You’ll Love This Easy Pie Crust Recipe
There is nothing fancy about this recipe, which is exactly why I love it. It’s the kind of basic recipe worth knowing by heart and passing down.
It uses just four ingredients, comes together completely by hand and doesn’t require a food processor. Butter gives the crust wonderful flavor while keeping it tender and flaky, and the recipe is versatile enough to use for sweet or savory pies.
Most importantly, it tastes homemade. A buttery, golden crust really does make the pie.
Why Butter Makes the Best Pie Crust
While some recipes call for shortening or lard, I’ve always found that a pie crust recipe with butter creates the best flavor and texture. Butter adds richness and a delicate flakiness, while also keeping the crust sturdy enough to hold fillings from savory quiches to fruit pies. It’s a simple ingredient that elevates the entire dessert.
I am *such* a fan of pie for so many reasons. And while the filling may change, it’s the base, the perfect crust, that truly makes the pie. I ran into a similar debate with the ingredients as I did when making biscuits. Some use butter, some use shortening, and others still use a mix, often butter and lard. I went back to my great grandmother “Nana’s” handwritten recipe cards to find that she used Crisco (shortening) for her crust, and my mom confirmed that she too carries on this tradition. But, I think that can be a bit outdated in today’s modern diet so I’m sharing it here with Butter. You can try either!
Easy Pie Crust Ingredients
One of my favorite things about homemade pie crust is how little you actually need to make it. You probably have everything in your kitchen already.
All-purpose flour. I traditionally use White Lily all-purpose flour, but your favorite all-purpose flour will work.
Cold unsalted butter. Keep it cold until you’re ready to use it. Those little pieces of cold butter are what help create flaky layers as the crust bakes.
Salt. Just enough to balance the flavor.
Ice water. Add this gradually. You want just enough moisture for the dough to hold together without becoming wet or sticky.
That’s it. Four simple ingredients and no food processor required.
Tips for the Perfect Crust
-
Always use cold butter to ensure flaky layers.
-
Chill the dough before rolling to prevent sticking.
-
Don’t overwork the dough—visible butter streaks mean extra flakiness.
A Timeless Baking Essential
Whether you’re baking a holiday pie or a simple weeknight dessert, this butter pie crust recipe is one to keep in your kitchen forever. It’s classic, versatile, and guaranteed to impress every time. With just a few simple steps, you’ll have a crust that’s buttery, flaky, and truly homemade.
How to Make Pie Crust From Scratch
Making pie crust from scratch is less complicated than you might think. The most important thing is not to overwork the dough.
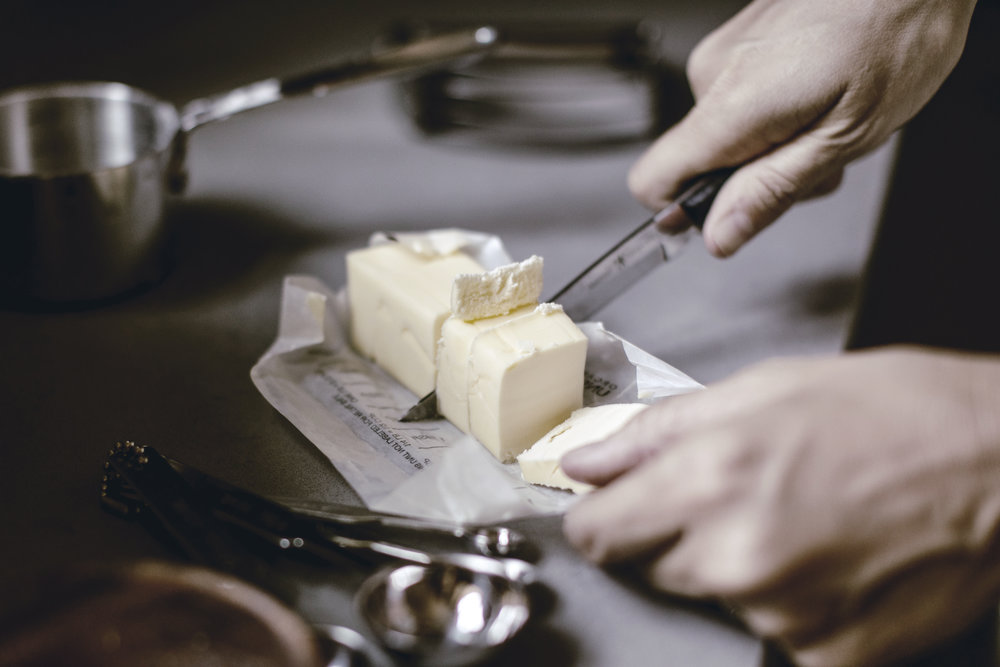
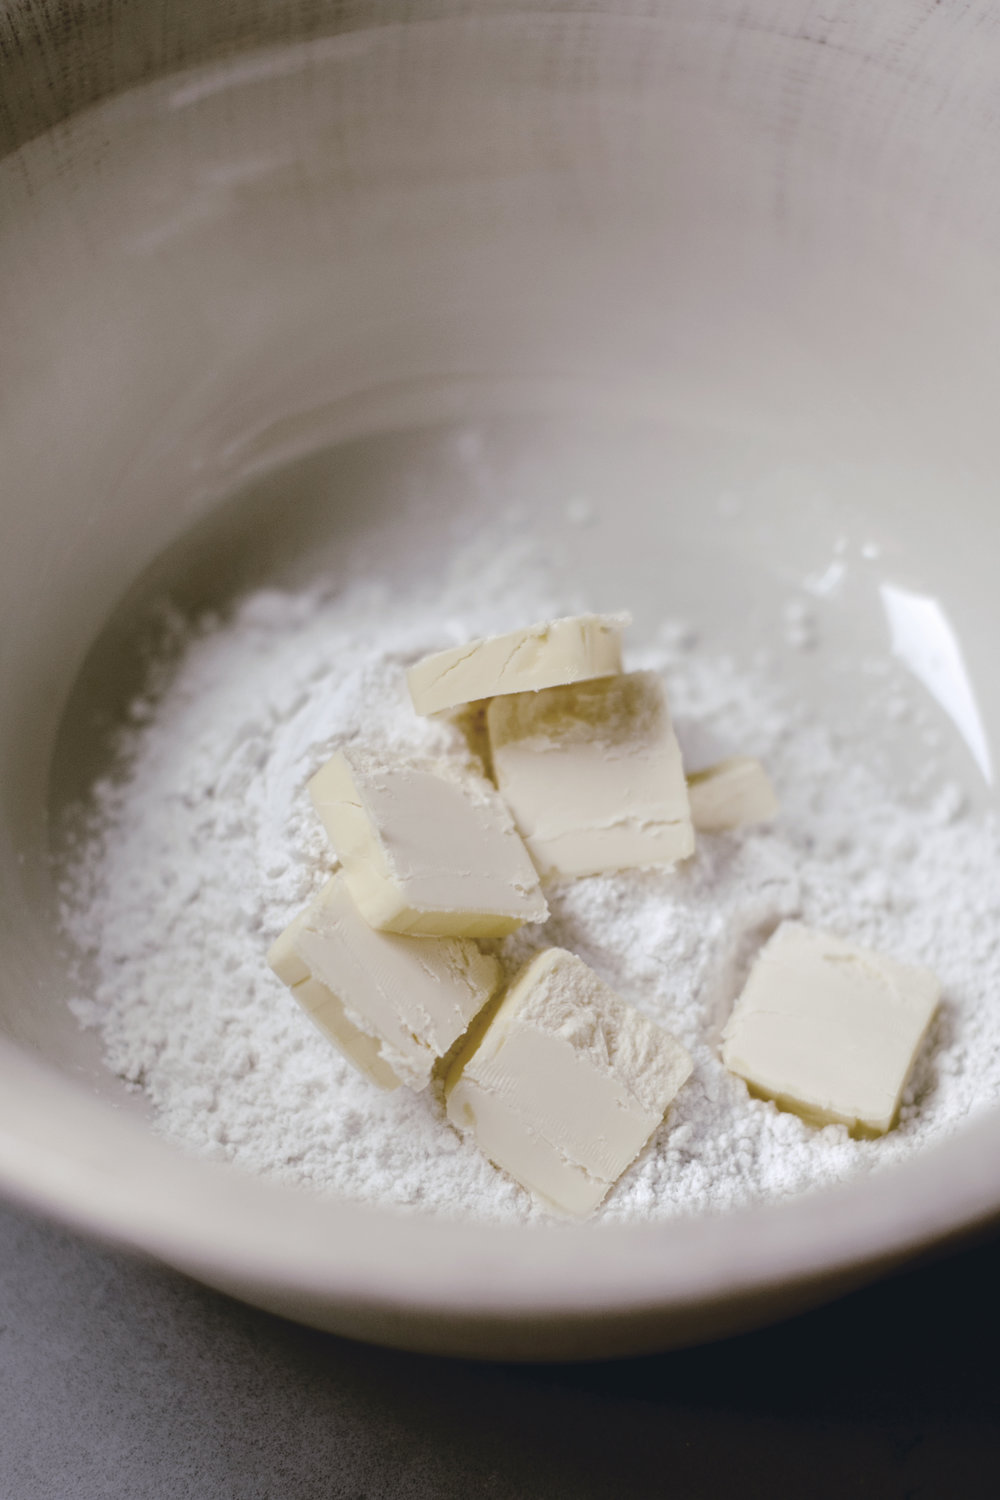
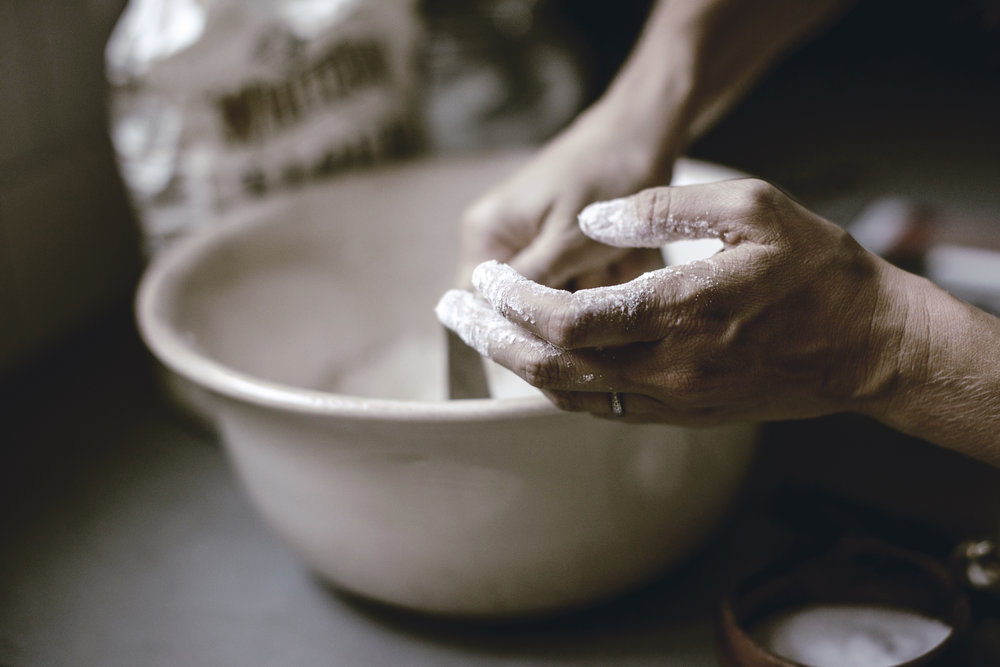
Start by combining the flour and salt in a mixing bowl. Cut the cold butter into small cubes and add it to the flour.
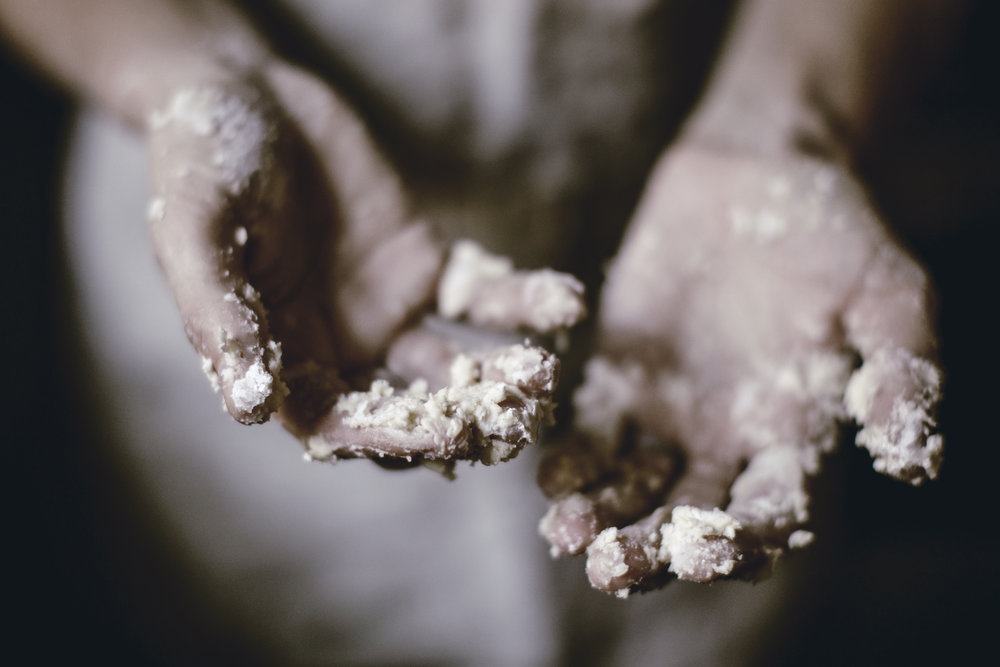
Using a pastry cutter or fork, cut the butter into the flour until the mixture resembles coarse crumbs. Don’t worry about making it perfectly uniform. You actually want to see some small pieces and streaks of butter throughout the mixture.
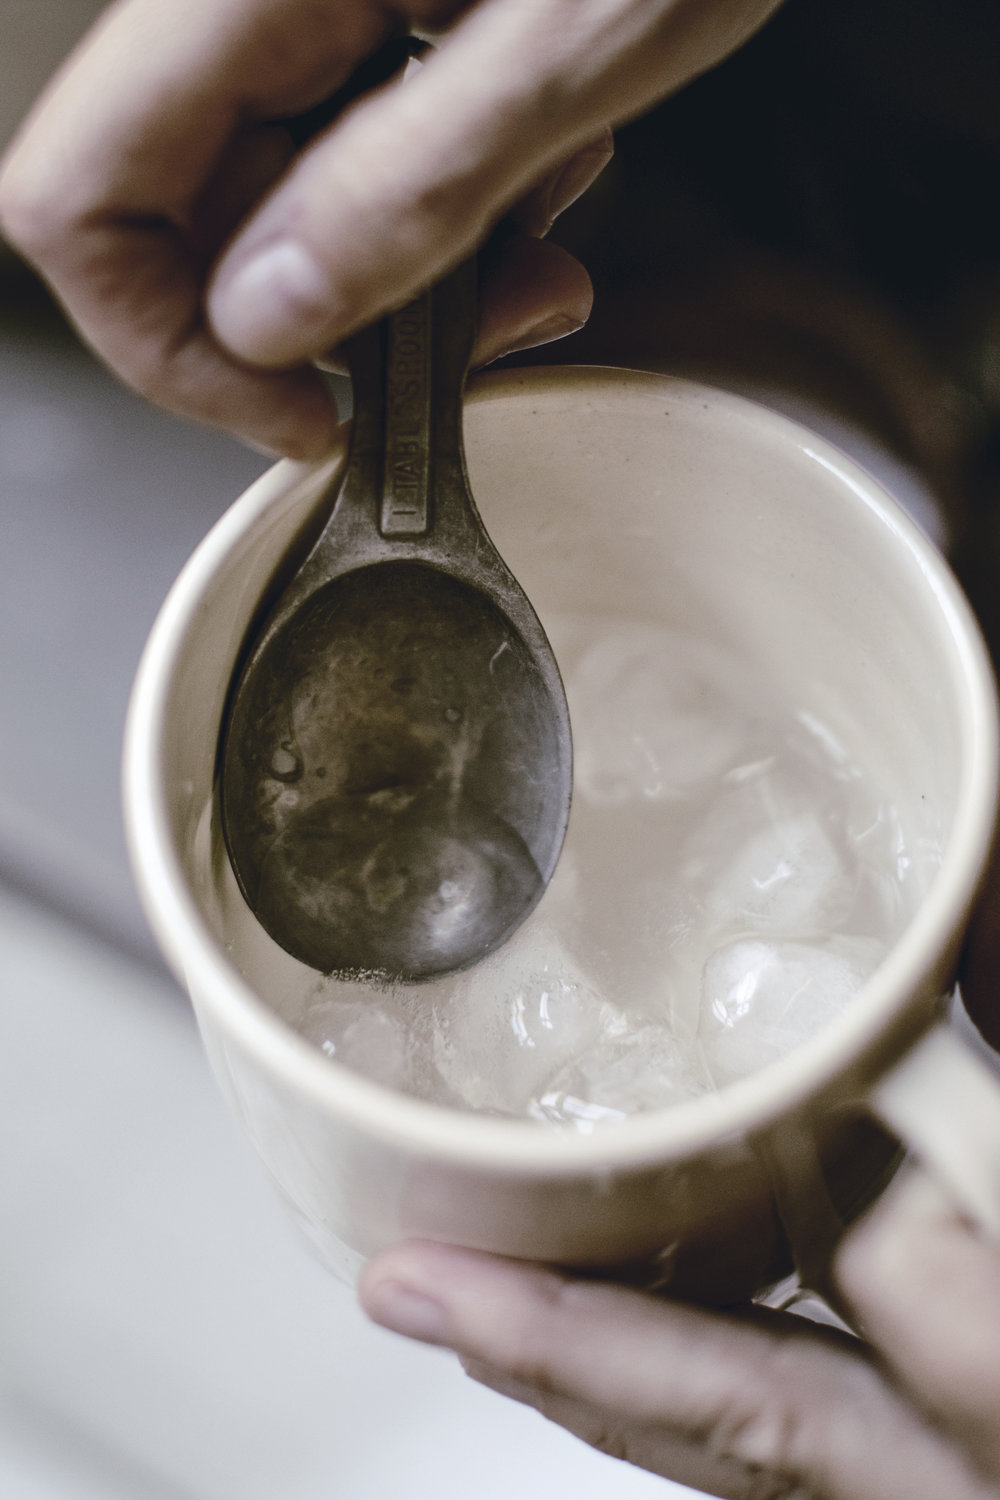
Add the ice water one tablespoon at a time, gently mixing as you go. Stop adding water as soon as the dough will hold together when pressed between your fingers.
Gather the dough into a ball and gently flatten it into a disk. Wrap it and refrigerate for at least four hours or overnight.
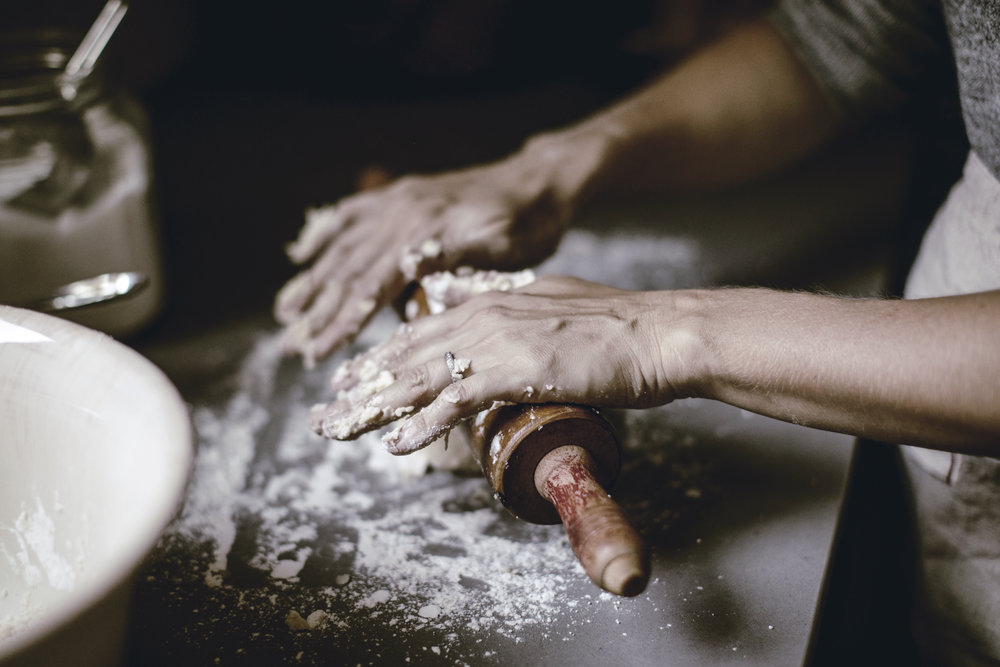
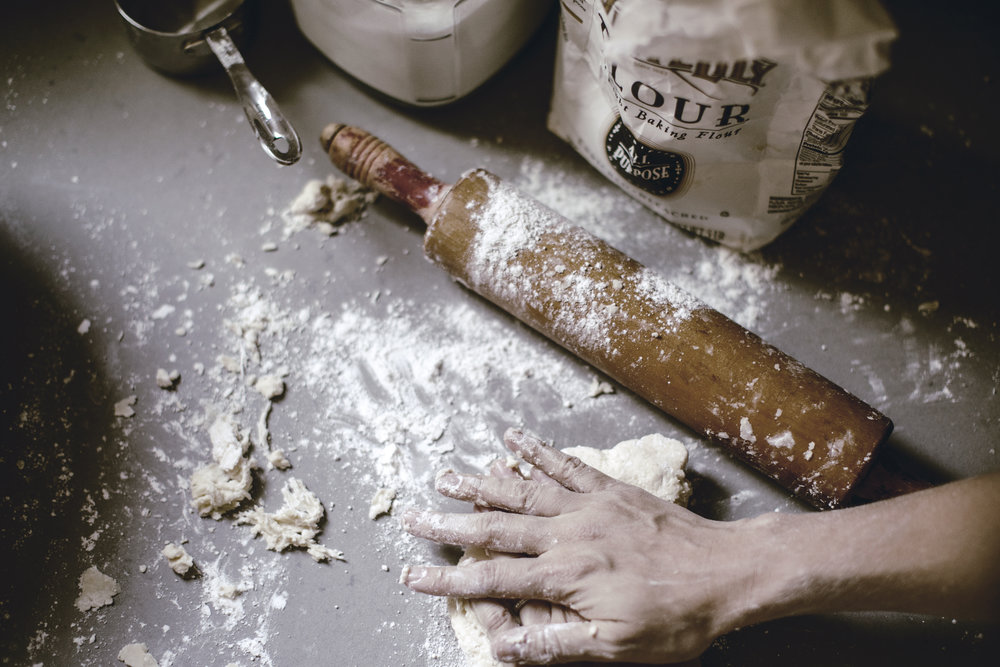
When you’re ready to bake, lightly flour your work surface and rolling pin. Roll the chilled dough from the center outward, turning it as you go, until it’s large enough to fit your pie plate.
Gently transfer the crust to the plate without stretching it. Press it lightly into the bottom and sides, trim any excess dough and crimp the edge as desired.
Then fill and bake according to the pie recipe you’re making.
Pie Crust Ingredients
This easy pie crust recipe uses just a few basic ingredients you likely already have on hand:
-
All-purpose flour
-
Cold unsalted butter
-
Fine salt
-
Ice water
That’s it. No shortening, no additives, and no unnecessary steps—just a simple butter pie crust that delivers flavor and flakiness every time.
Unlike shortening-based pie crusts, an all-butter pie crust delivers richer flavor and a more tender texture. While butter requires keeping ingredients cold, the payoff is a crust that browns beautifully and tastes unmistakably homemade—exactly what you want for classic fruit pies and holiday baking.

I must say I’m not completely checking this one off my Bucket List just yet. I decided I’d branch out on my own for this one and give butter a try, since I’ve been eating shortening-based crusts my whole life. But I’d love to take the time to do a few versions side by side and see which I truly prefer.
But for the purposes of you knocking out an actual Pie Crust in time for Thanksgiving, I’m giving you the choice of two versions – my All Butter Pie Crust and my Nana’s Shortening Pie Crust.
How to Make Pie Crust by Hand Without a Food Processor
I actually prefer making pie crust by hand. It’s the way generations before us made it, and it also gives you a better feel for the dough.
A food processor can very quickly take butter from perfectly cut-in to overworked. When you’re using a fork or pastry cutter, you can stop as soon as the butter is broken into small pieces but is still visible throughout the flour.
The same is true when adding water. Add it slowly and use your hands only as much as necessary to bring everything together. Pie dough doesn’t need to be perfectly smooth. In fact, a slightly shaggy dough with visible butter is exactly what you’re looking for.

Tips for a Flaky Homemade Pie Crust
Keep everything cold. Cold butter is essential. If the butter begins to soften while you’re working, put the dough back into the refrigerator for a few minutes.
Don’t overwork the dough. Mix only until everything comes together. Overworking develops the gluten in the flour and can make the finished crust tough instead of tender.
Add water slowly. Depending on your flour, humidity and even the weather, you may not need exactly the same amount every time.
Let it rest. Chilling gives the flour time to hydrate and the butter time to firm back up. It also makes the dough much easier to roll.
Don’t stretch the crust into the pie plate. Lay it gently into place. Stretching can cause the crust to shrink as it bakes.
Easy All-Butter Pie Crust Recipe
Description
An easy homemade pie crust made by hand with four simple ingredients. This all-butter crust is flaky, tender and perfect for sweet or savory pies. No food processor required.
Ingredients
- 1 1/4 cups all-purpose White Lily flour
- 1/4 tsp kosher salt
- 1/2 cup cold butter
- 1/4 cup ice water
Instructions
- In a mixing bowl, combine your flour and salt. Cut in your cold, cubed butter until coarse crumbs form. Stir in water, a tablespoon at a time, until you are able to form the dough into a ball. Wrap and refrigerate for 4 hours or overnight to chill.
- Lightly flour your surface and roll out your dough to fit your pie plate, laying it over your plate. Press the dough into the bottom and along the sides of the pie plate as evenly as possible.
Why I Make My Pie Crust With Butter
There has always been some debate in my family about the best fat for pie crust, much like there is with homemade biscuits. Some people swear by butter, others shortening, and some use a combination of butter and lard.
I went back through my great-grandmother Nana’s handwritten recipe cards and found that she used Crisco in her pie crust. My mom confirmed that she still makes hers the same way.
That shortening crust is the pie crust I grew up eating. But when I began making my own, I wanted to try an all-butter version.
Butter gives the crust a rich flavor that I love and creates those flaky layers when the cold pieces melt in the oven. It’s become the version I make most often, although Nana’s original shortening crust certainly still has a place in our family recipe box.
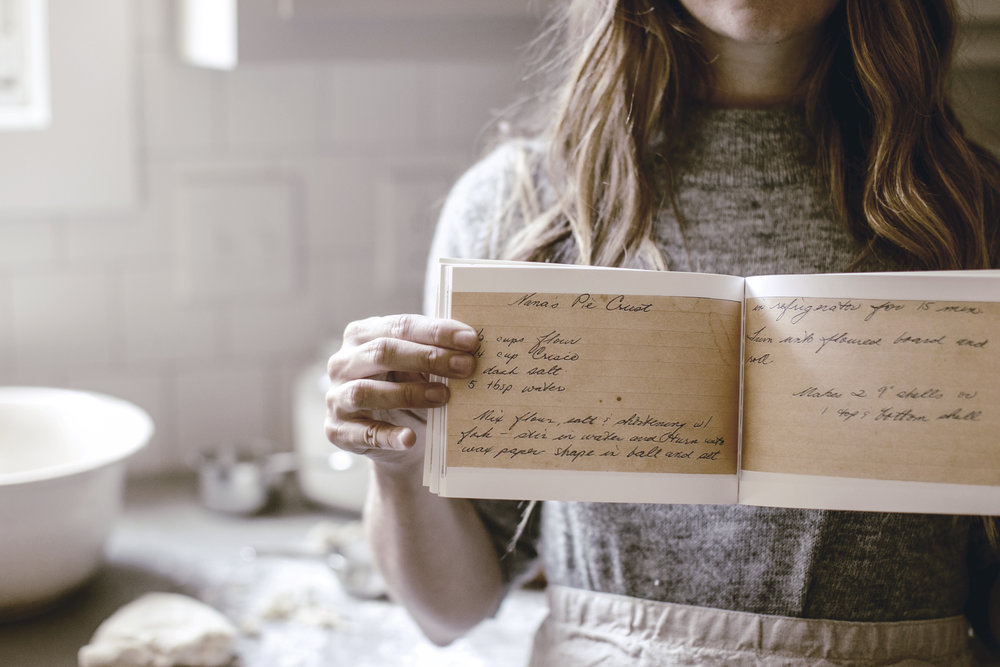
Nana’s Southern Pie Crust With Shortening
This is the shortening-based pie crust I grew up eating, straight from my family’s recipe collection.
Ingredients
- 1 1/2 cups flour
- 3/4 cup Crisco shortening
- Dash of salt
- 5 tablespoons water
Mix the flour, salt and shortening together with a fork. Stir in the water and gently form the dough into a ball. Wrap in waxed paper and refrigerate for about 15 minutes.
Turn the chilled dough onto a floured surface and roll it out.
This recipe makes two 9-inch pie shells or enough crust for one double-crust pie with a top and bottom.
Butter vs. Shortening for Pie Crust
Both make a wonderful homemade pie crust, but they’re a little different.
An all-butter pie crust has a richer flavor and beautiful flaky layers. Butter does require a little more attention because it softens quickly, so keeping your dough cold is important.
A shortening pie crust is very tender and generally easy to work with because shortening has a higher melting point than butter. It’s also the more traditional Southern pie crust in my own family.
If you’re wondering which one is best, I think it’s worth making both. That’s part of the fun of keeping an old family recipe alive. You can preserve the original while finding the version your own family loves best.
How to Store Homemade Pie Dough
One of the best things about homemade pie crust is that you don’t have to make it at the same time you’re making the pie.
Wrap the dough tightly and keep it refrigerated until you’re ready to roll it out. I often make mine the night before I’m planning to bake.
For longer storage, you can also freeze pie dough. Wrap it well to protect it from freezer burn, then thaw it overnight in the refrigerator before rolling.
It’s a wonderful thing to have tucked away when you want to make a homemade pie without starting completely from scratch.
Easy Pie Crust FAQs
Do I need a food processor to make pie crust?
No. This easy pie crust recipe is specifically made by hand. A pastry cutter or fork works beautifully for cutting the cold butter into the flour.
Why does the butter need to be cold?
You want pieces of cold butter to remain in the dough when it goes into the oven. As those pieces melt during baking, they create steam and help form the flaky layers you’re looking for in a good pie crust.
Why is my pie crust tough?
The most common culprit is overworking the dough or adding too much water. Handle the dough as little as possible and stop adding water once it holds together.
How long should pie dough chill?
I like to chill my all-butter dough for at least four hours or overnight. This makes it easier to roll and gives the butter plenty of time to become completely cold again.
Can I make pie crust ahead of time?
Yes. In fact, I prefer it. Make the dough ahead and keep it wrapped in the refrigerator until you’re ready to roll and bake it.
Can I freeze homemade pie crust?
Yes. Freeze the wrapped dough and thaw it overnight in the refrigerator before using.
Can I use this pie crust for quiche?
Absolutely. This butter pie crust works for both sweet and savory recipes, including quiche and savory tarts.
Do I need to blind bake this pie crust?
That depends on the filling you’re using. Some pies and quiches require a partially or fully baked crust before adding the filling, while others bake the raw crust and filling together. Follow the instructions for the specific pie you’re making.
Recipes to Make With Homemade Pie Crust
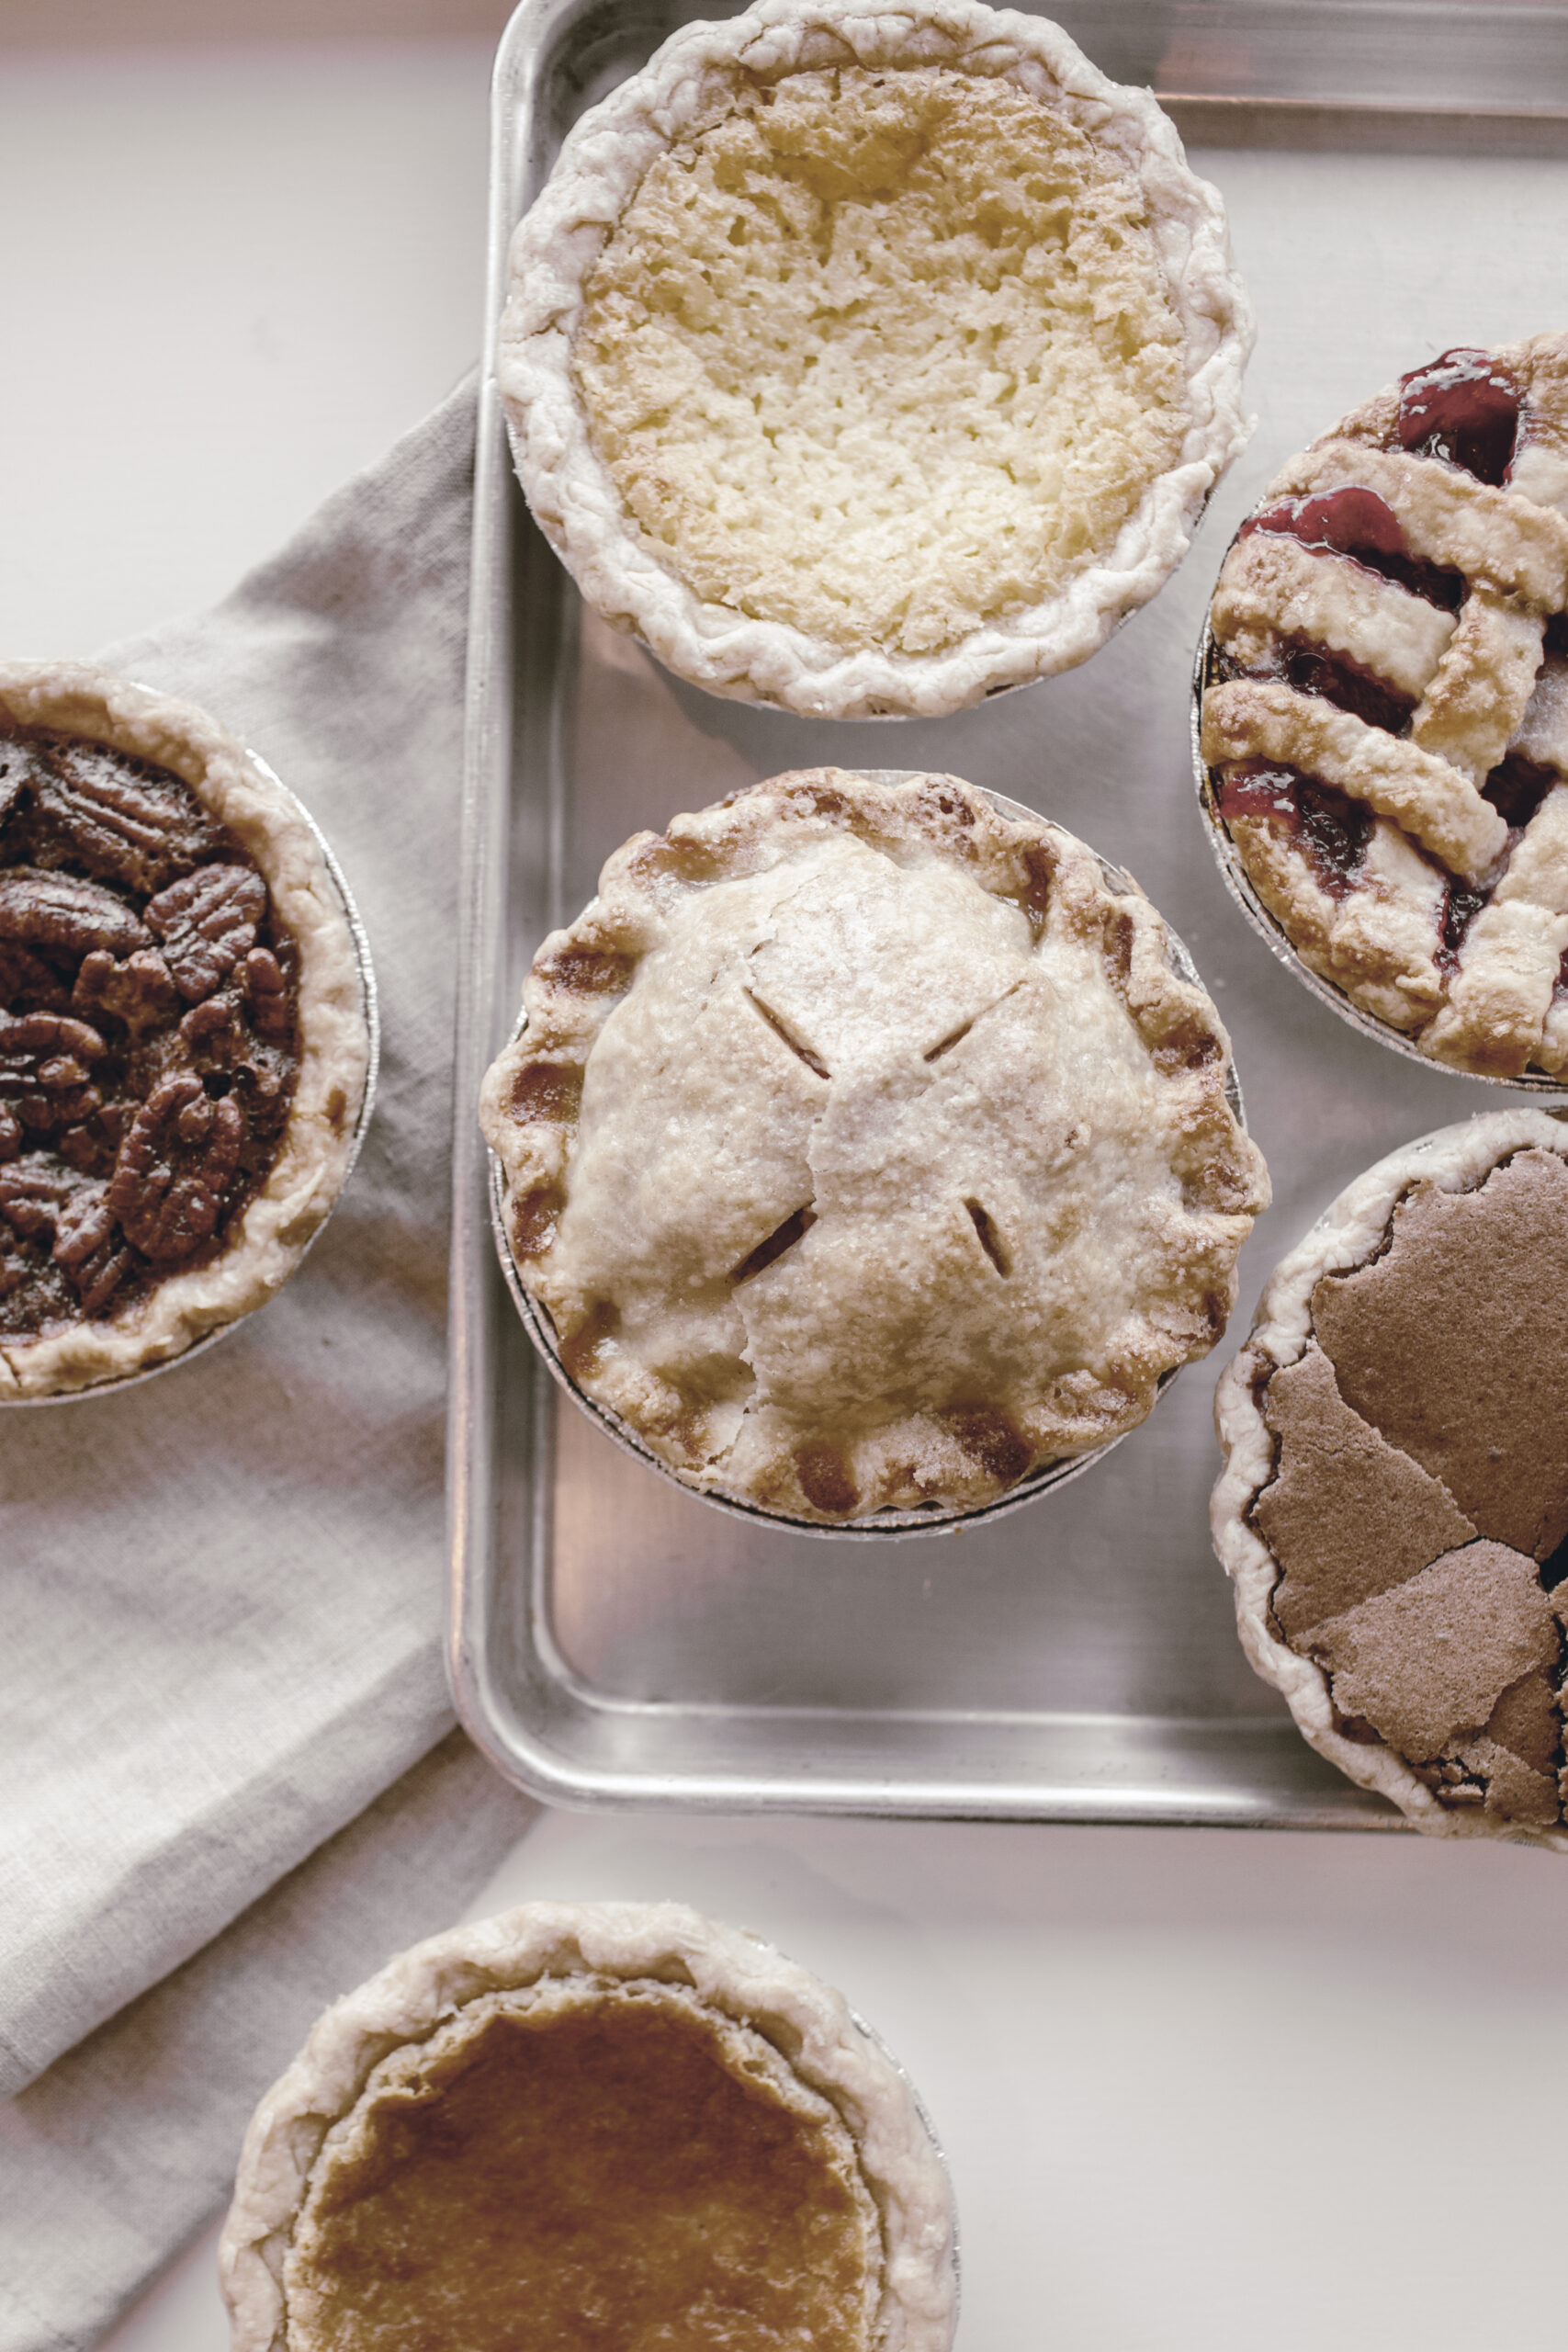
Once you’ve mastered a simple pie crust from scratch, there are so many family recipes you can make with it. Start with my Best Homemade Apple Pie Recipe, especially during apple season, or use it for my Easy Pumpkin Pie for Thanksgiving or Classic Buttermilk Pie.
And don’t throw away those little scraps of leftover pie dough. They’re perfect for making the old-fashioned pie crust cinnamon rolls my family has made for generations.
There is something particularly satisfying about making a pie completely from scratch, right down to the crust. It’s a simple kitchen skill, but it’s also one of those little things worth knowing and passing along.
That’s really what family recipes are about. They don’t have to remain exactly the same forever. Nana made hers with shortening, my mom carried on that version, and I tend to reach for butter. The recipe changes a little from one kitchen to the next, but the tradition of making it remains.
And to me, that’s the part worth keeping.
heirloomed is a lifestyle brand with a mission of “keeping heirlooms around for another generation.” Our blog features stories about family recipes, creating traditions with your family, interior design and entertaining by mixing new and vintage pieces, classic style, and small town + historic travel. Our shop features a collection of “goods inspired by the past, for generations to enjoy” with an array of products and meaningful gifts including linen aprons, tabletop linens, art, ceramics and beyond. Learn more at www.heirloomedcollection.com.