This is my best homemade apple pie recipe, a classic made-from-scratch pie with tender apples, warm cinnamon and nutmeg, and a flaky all-butter crust. It’s simple, timeless and the kind of recipe you’ll come back to year after year.
There are certain recipes that feel like a rite of passage. The kind you don’t rush into, and certainly don’t forget. For many of us, apple pie is one of them.
It’s the dessert that shows up on holidays, Sundays, and quiet afternoons when the kitchen feels like the heart of the house. The one tied to memory, flour-dusted countertops, apples piled high, the familiar scent of cinnamon and butter filling the room long before the timer goes off. Oh, and that lattice crust.
This is my best homemade apple pie recipe — the one I return to again and again. It’s classic, unfussy, and rooted in the belief that the simplest recipes are often the most enduring.
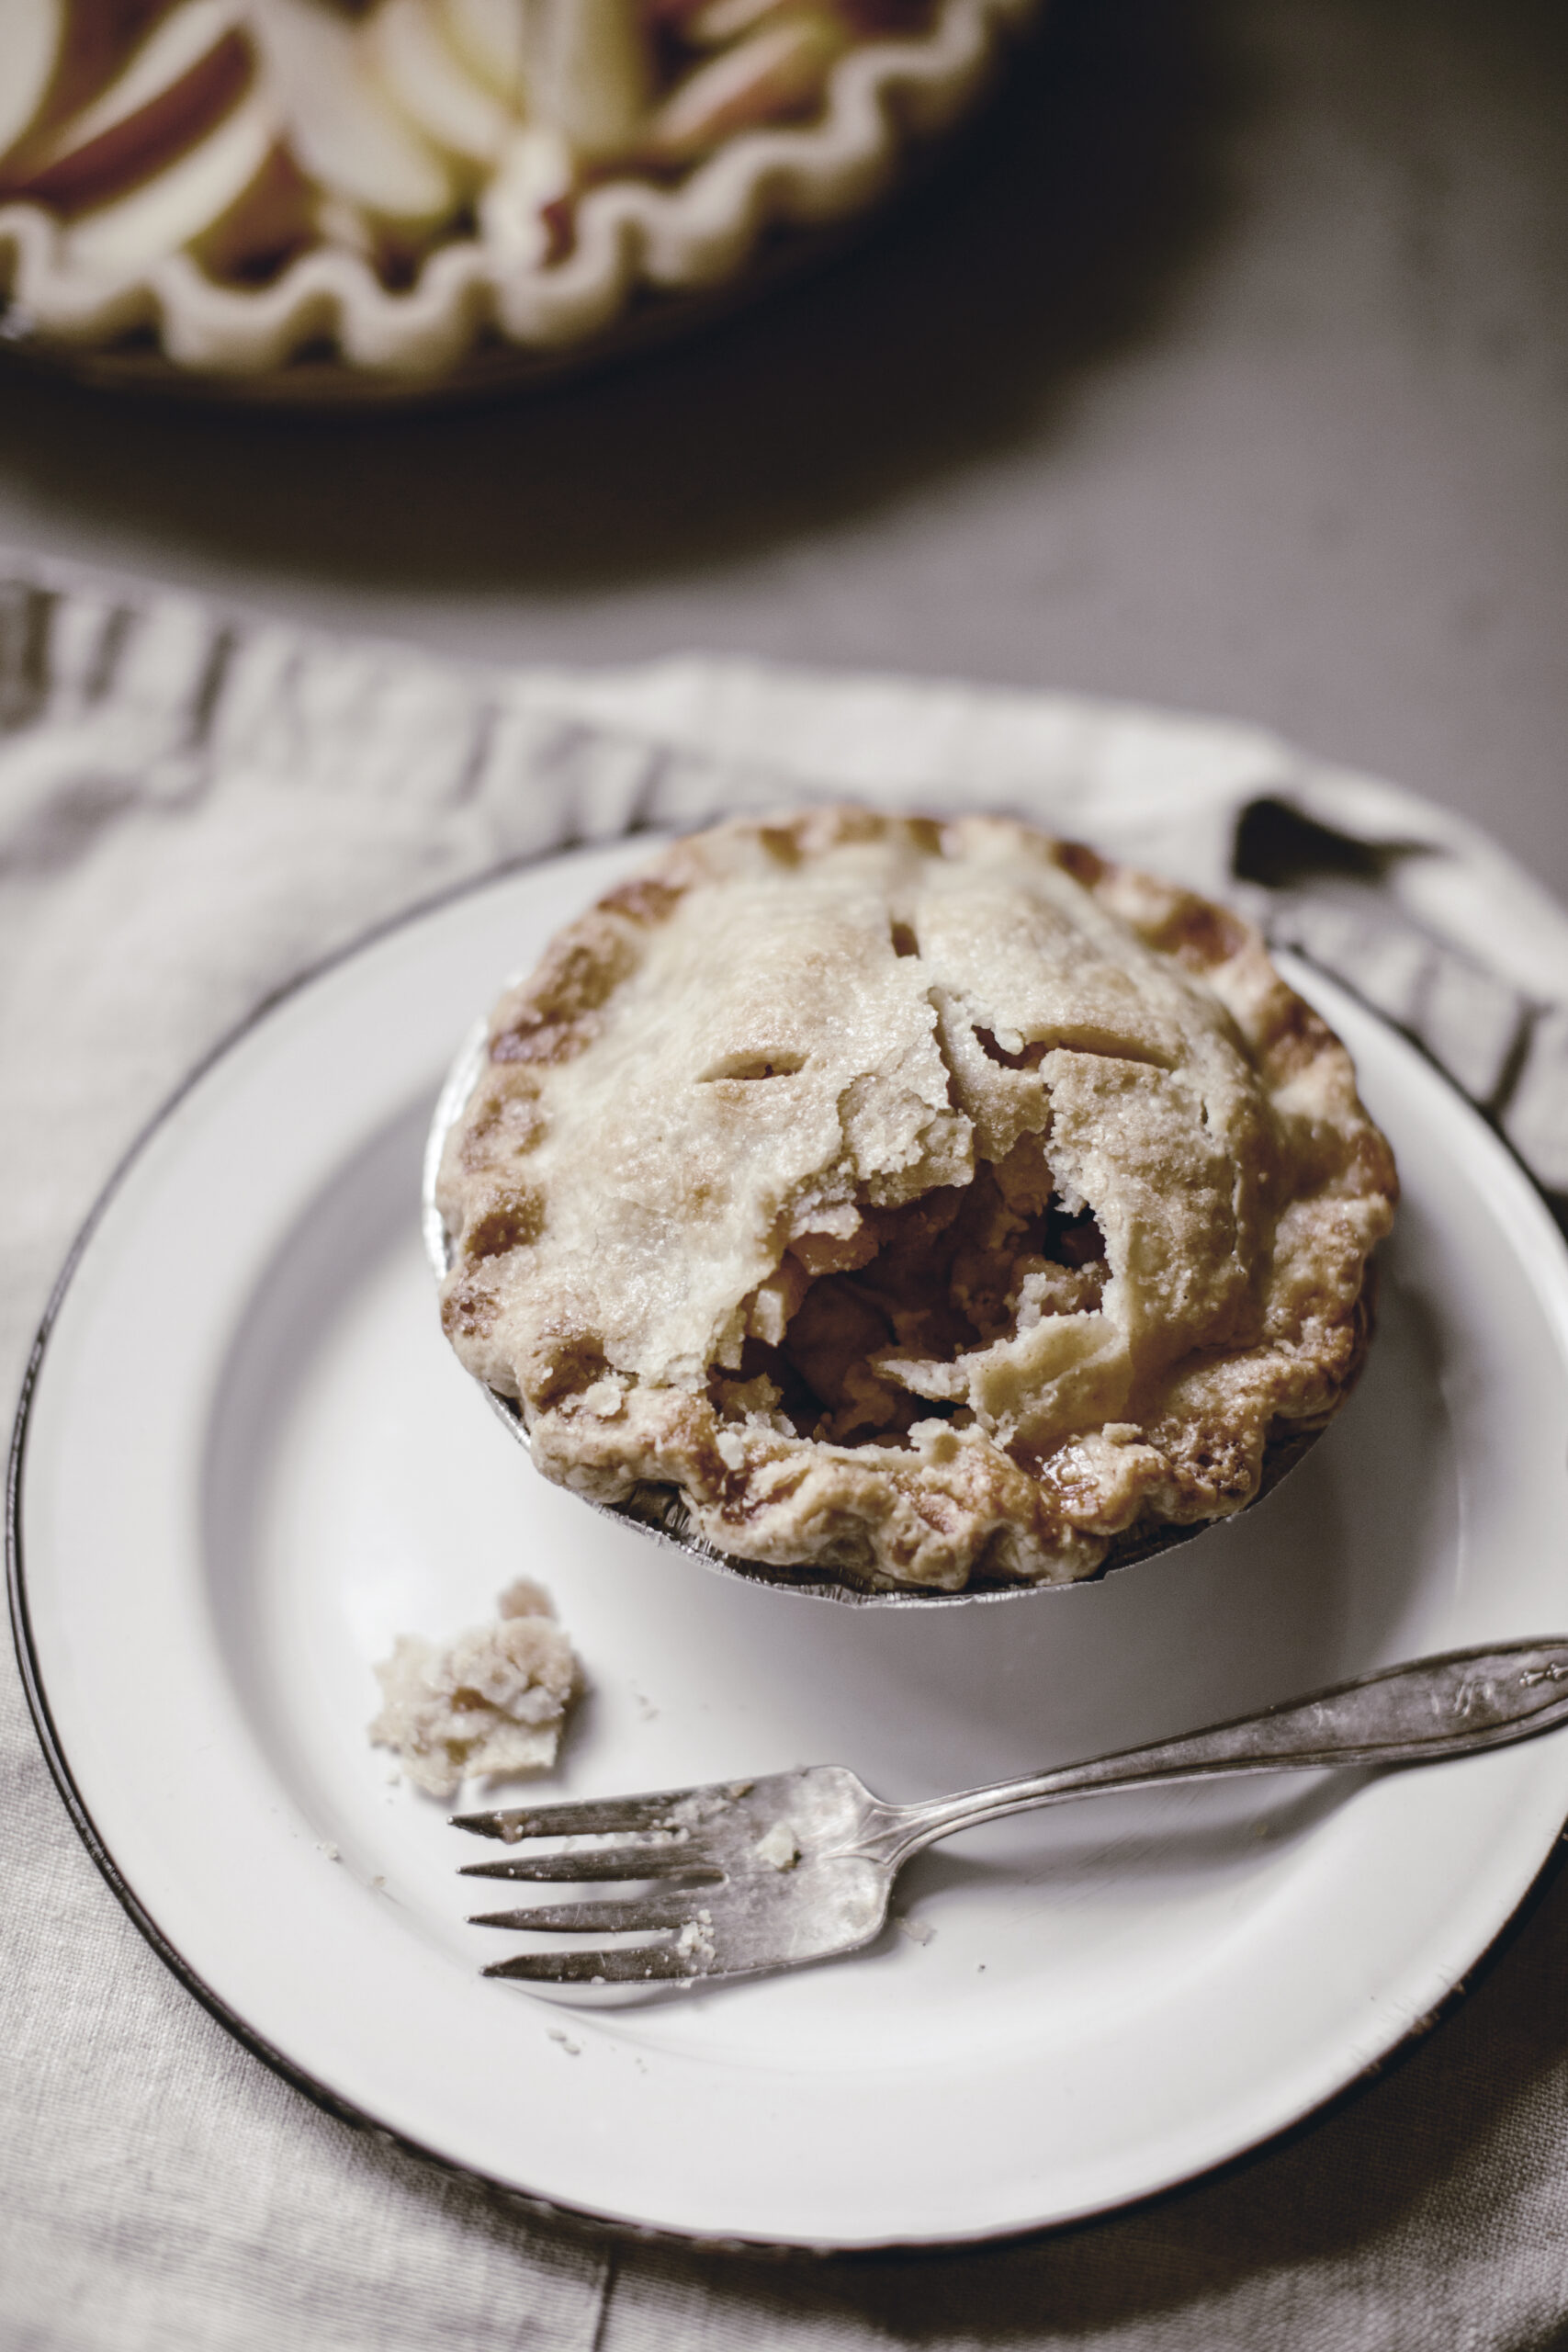
Why This Apple Pie Recipe Works
There’s no reinvention here and that’s exactly the point. It’s a classic that doesn’t need variations.
This apple pie strikes the right balance:
-
Tender apples that hold their shape
-
A filling that’s warmly spiced, not overly sweet
-
A flaky, buttery crust that actually tastes like butter
It’s the kind of pie that doesn’t need explanation when it’s served. It just feels right.
The Apples That Make the Difference
For the best apple pie recipe, apple choice matters.
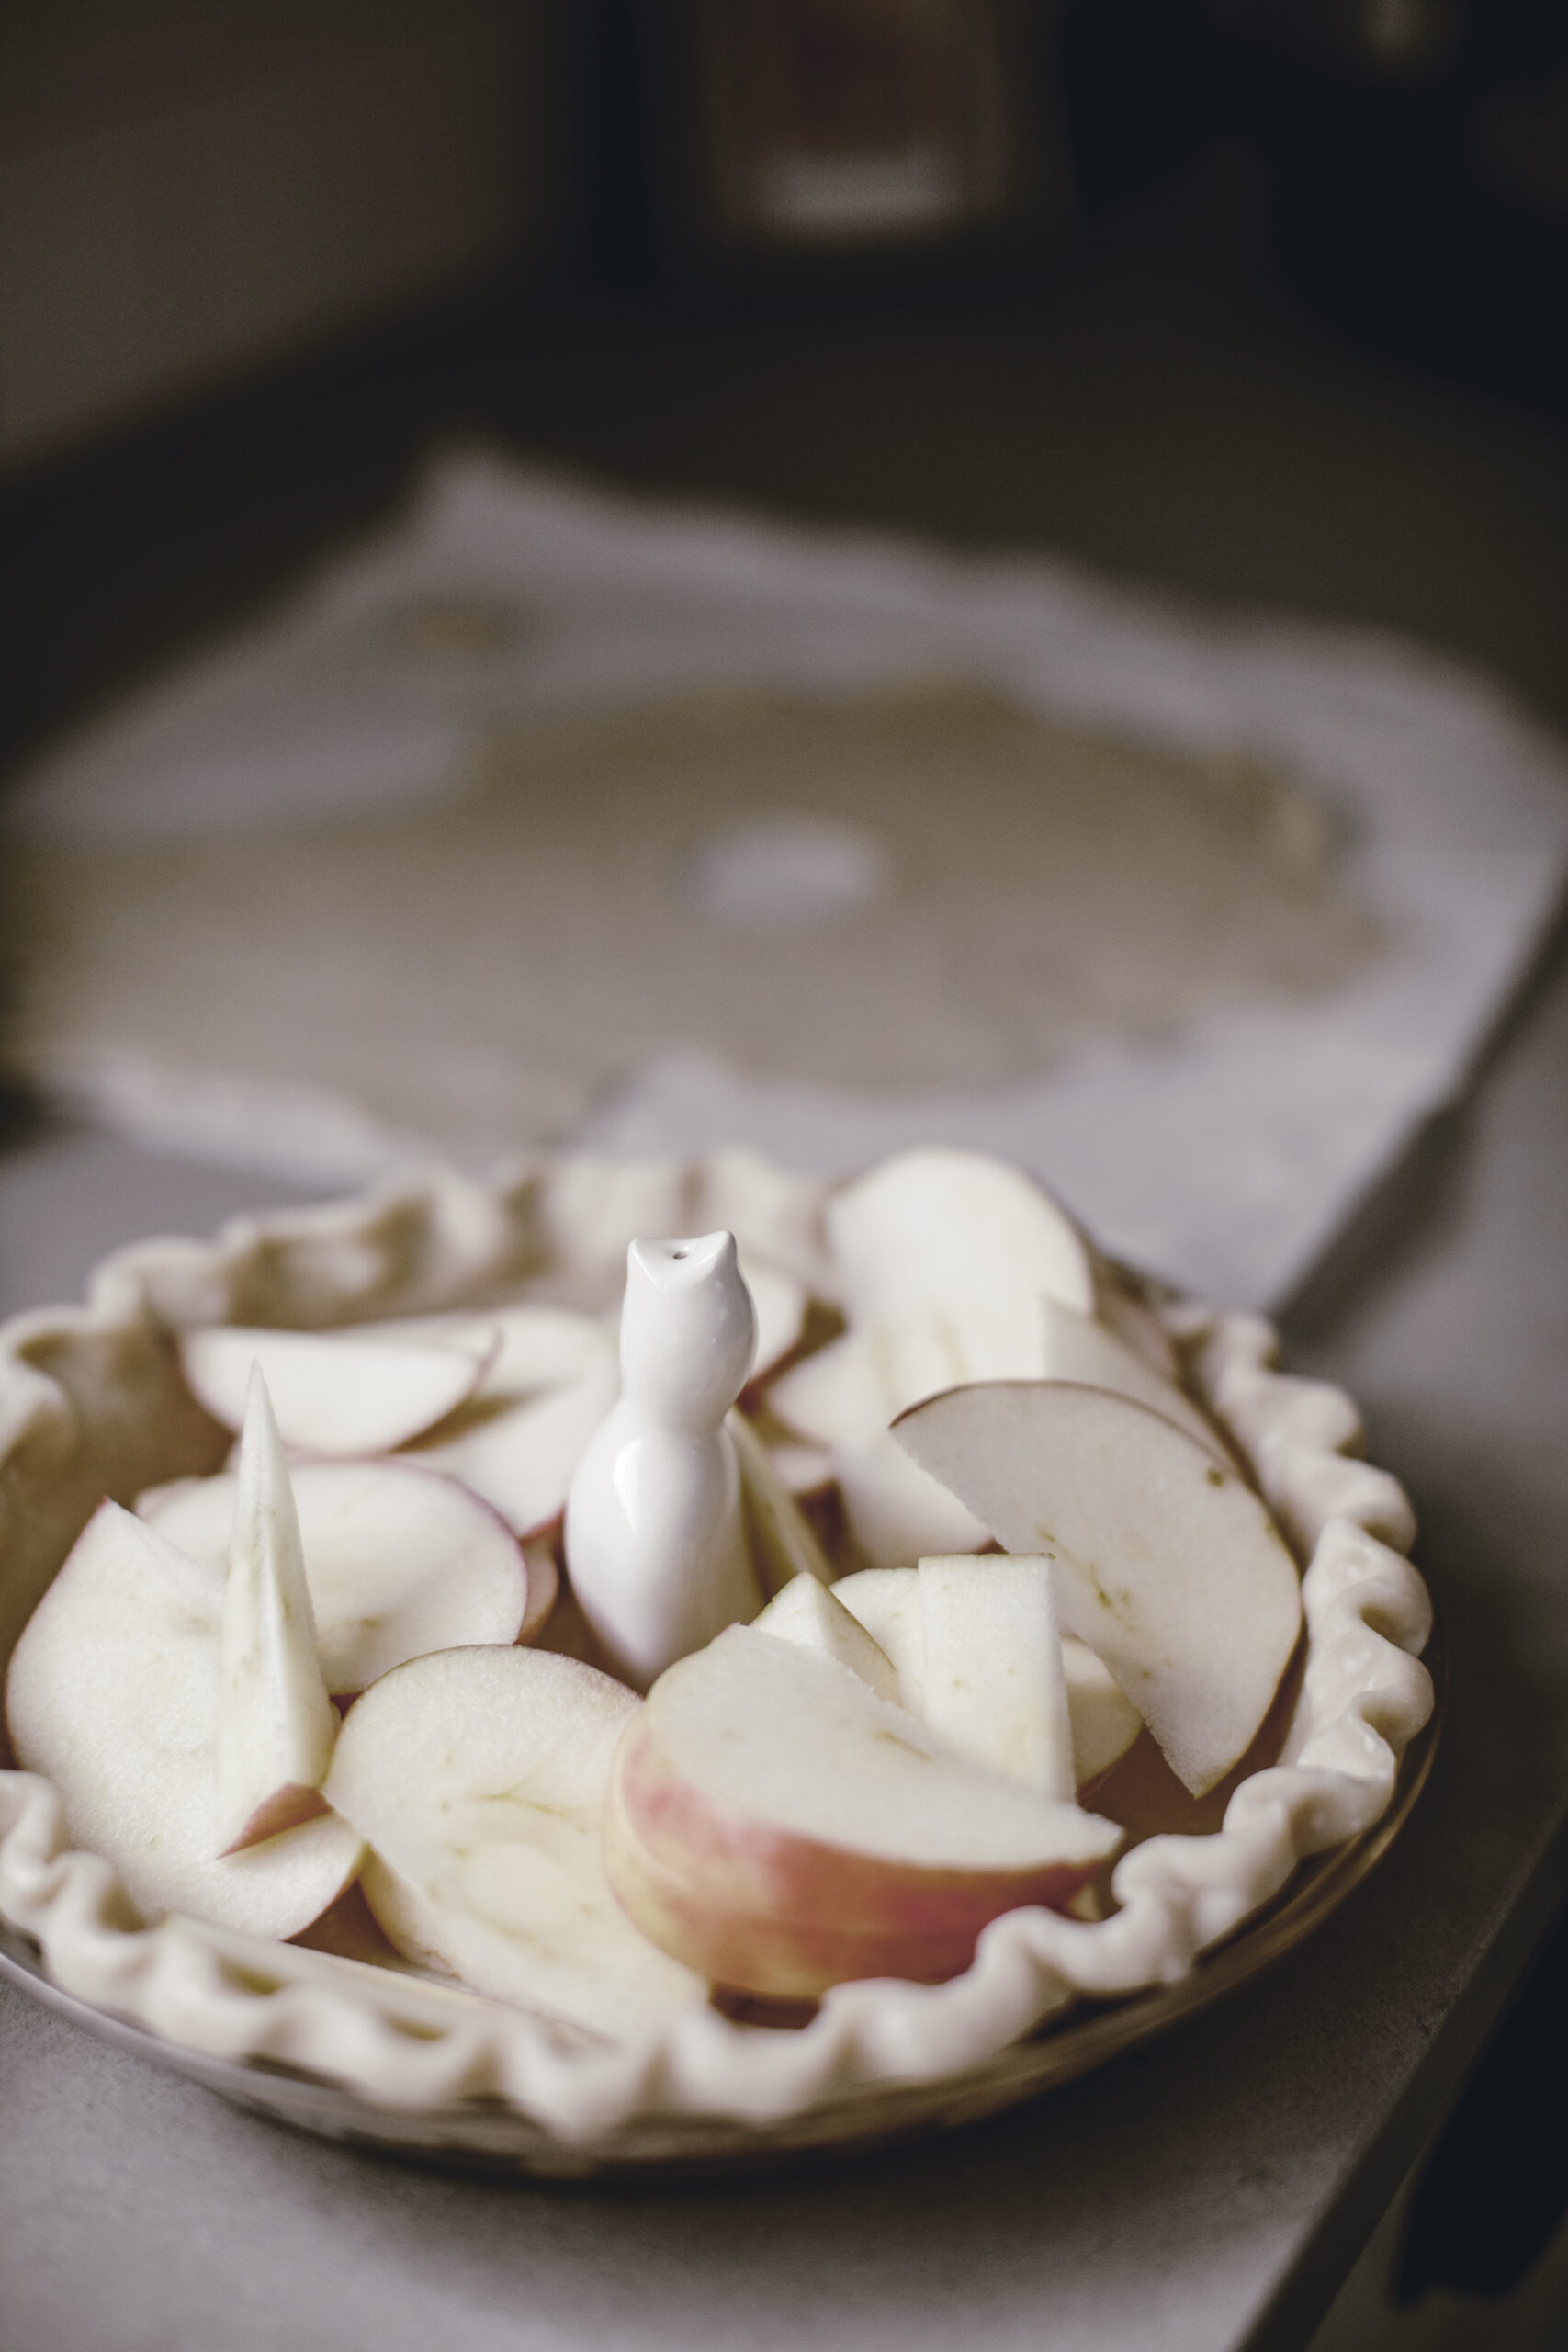
I prefer a mix of apples for depth and texture:
-
Granny Smith for tartness
-
Honeycrisp or Pink Lady for sweetness and structure
This combination gives you a filling that’s neither mushy nor overly sharp — just balanced and comforting.
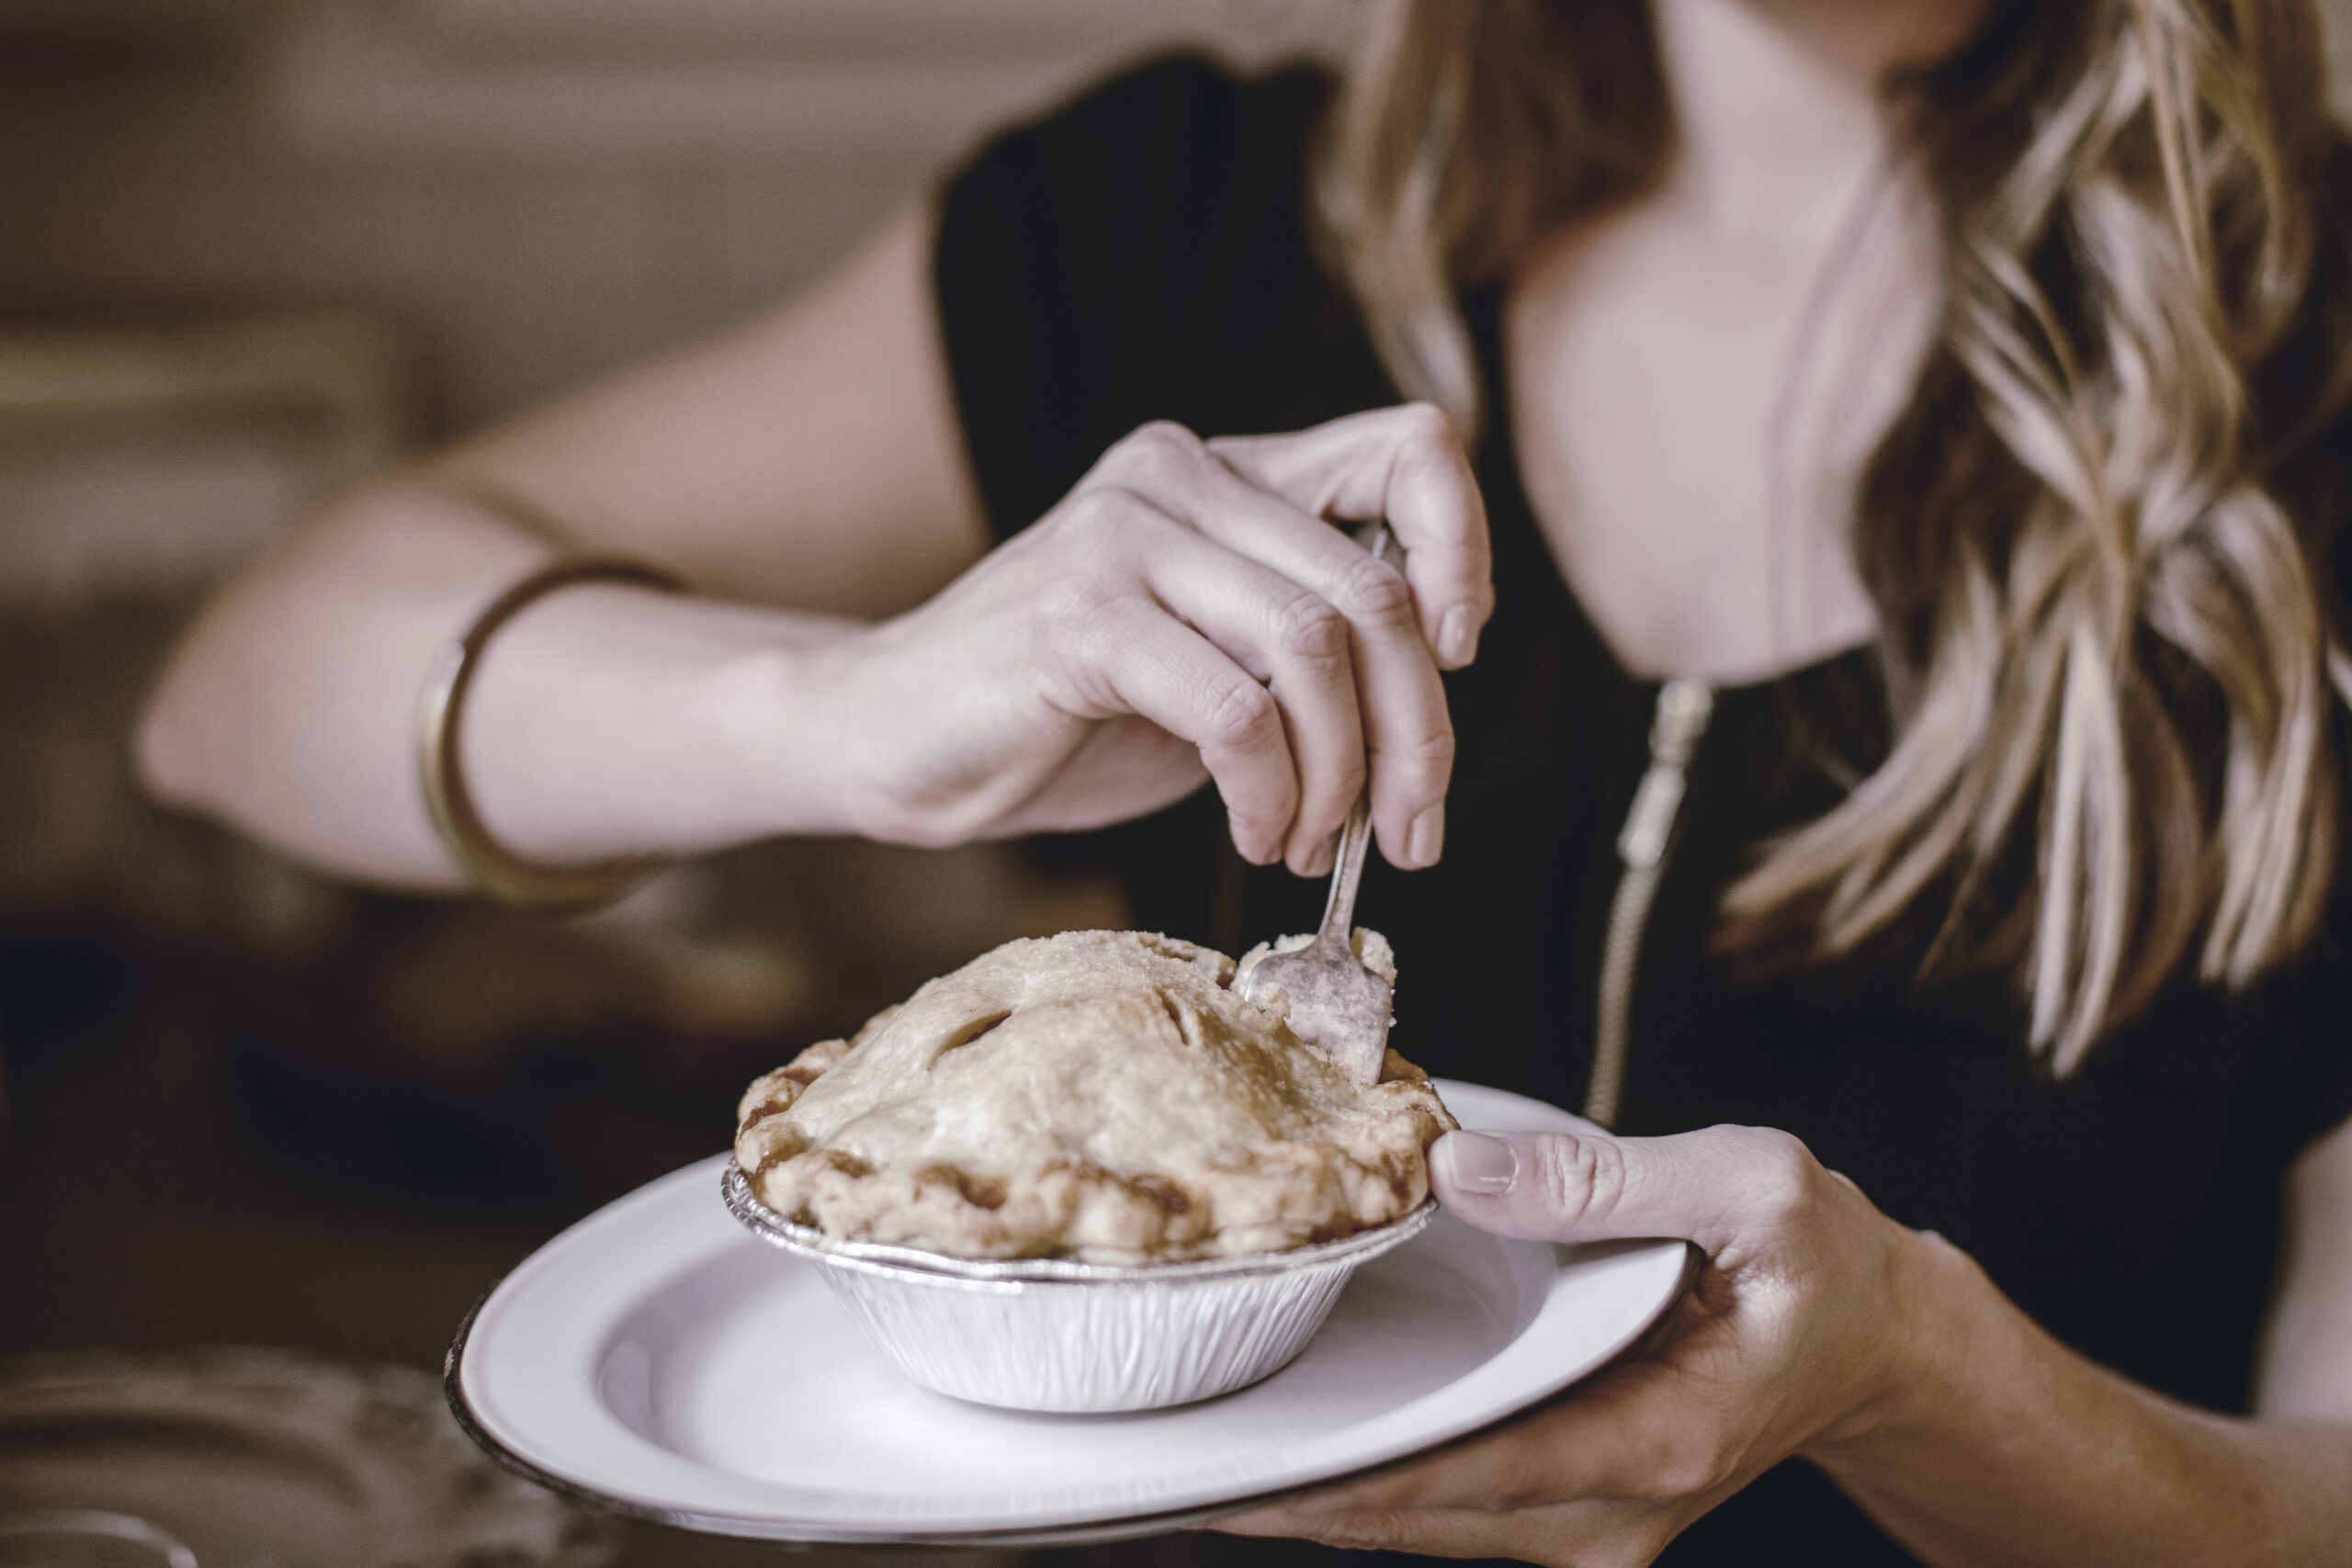
The Best Homemade Apple Pie Recipe
Ingredients
For the filling:
-
6–7 cups peeled, sliced apples
-
¾ cup granulated sugar
-
¼ cup light brown sugar
-
2 tablespoons all-purpose flour
-
1 teaspoon ground cinnamon
-
¼ teaspoon ground nutmeg
-
1 tablespoon fresh lemon juice
-
1 teaspoon vanilla extract
-
Pinch of salt
For the crust:
-
1 double batch of homemade pie crust
I always use my homemade pie crust recipe here — it’s flaky, dependable, and worth the extra few minutes.
Instructions
-
Prepare the crust.
Roll out one pie crust and gently fit it into a 9-inch pie dish. Trim and chill while you prepare the filling. -
Make the filling.
In a large bowl, toss the apples with both sugars, flour, cinnamon, nutmeg, lemon juice, vanilla, and salt until evenly coated. -
Assemble the pie.
Spoon the apple mixture into the prepared crust, mounding slightly in the center. -
Top and seal.
Roll out the second crust and place over the filling. Trim excess dough, crimp edges, and cut a few slits in the top to vent. -
Bake.
Bake at 425°F for 20 minutes, then reduce heat to 375°F and bake an additional 35–40 minutes, until the crust is golden and the filling is bubbling. -
Cool before serving.
Let the pie cool for at least an hour. This allows the filling to set and makes slicing easier.

Best Homemade Apple Pie Recipe
Description
A classic homemade apple pie made from scratch with tender apples, warm cinnamon and nutmeg, and a flaky all-butter pie crust. A timeless recipe worth keeping.
Ingredients
For the filling:
-
6–7 cups peeled, sliced apples
-
¾ cup granulated sugar
-
¼ cup light brown sugar
-
2 tablespoons all-purpose flour
-
1 teaspoon ground cinnamon
-
¼ teaspoon ground nutmeg
-
1 tablespoon fresh lemon juice
-
1 teaspoon vanilla extract
-
Pinch of salt
For the crust:
-
1 double batch of homemade pie crust
I always use my homemade pie crust recipe here — it’s flaky, dependable, and worth the extra few minutes.
Instructions
-
Prepare the crust.
Roll out one pie crust and gently fit it into a 9-inch pie dish. Trim and chill while you prepare the filling. -
Make the filling.
In a large bowl, toss the apples with both sugars, flour, cinnamon, nutmeg, lemon juice, vanilla, and salt until evenly coated. -
Assemble the pie.
Spoon the apple mixture into the prepared crust, mounding slightly in the center. -
Top and seal.
Roll out the second crust and place over the filling. Trim excess dough, crimp edges, and cut a few slits in the top to vent. -
Bake.
Bake at 425°F for 20 minutes, then reduce heat to 375°F and bake an additional 35–40 minutes, until the crust is golden and the filling is bubbling. -
Cool before serving.
Let the pie cool for at least an hour. This allows the filling to set and makes slicing easier.
What Are the Best Apples for Apple Pie?
The best apples for apple pie are firm enough to hold their shape while baking and have enough tartness to balance the sugar in the filling. Granny Smith apples are a classic choice because they stay relatively firm in the oven and their tart flavor works beautifully with the cinnamon, nutmeg and sugar in a traditional apple pie.
Whatever variety you choose, avoid apples that become very soft or mealy when baked. A good pie apple should leave you with tender, distinct slices of fruit rather than an overly soft or applesauce-like filling.
How Thick Should I Slice Apples for Apple Pie?
I like to slice my apples about 1/4-inch thick. This is thin enough for the apples to become tender as the pie bakes, but thick enough that they still hold their shape and give the filling some texture.
The most important thing is to keep your slices fairly uniform. If some are paper-thin and others are very thick, they’ll cook at different rates and you can end up with a mixture of mushy and undercooked apples.
Do You Have to Cook Apples Before Making Apple Pie?
No, you do not need to cook the apples before making this apple pie. I add the sliced apples directly to the crust after tossing them with the sugars, flour, cinnamon, nutmeg, lemon juice, vanilla and salt.
Slicing the apples evenly allows them to become tender while the pie bakes, and skipping the extra cooking step keeps this recipe wonderfully simple. The apples cook in their own juices inside the crust, creating that classic homemade apple pie filling as they bake.
How Do You Keep Apple Pie From Getting Watery?
A little juice in an apple pie is a good thing, but the filling shouldn’t run all over the plate when you cut into it. The flour in this recipe helps thicken the natural juices released by the apples as they bake.
Choosing a firm baking apple also helps because some varieties release more liquid and break down more quickly than others. Finally, don’t rush the cooling time. The filling continues to thicken as the pie cools, so cutting into a piping-hot apple pie can make even a properly thickened filling seem watery.
How Do You Know When Apple Pie Is Done?
Don’t rely on baking time alone. Your apple pie is ready when the crust is deeply golden brown, the filling is visibly bubbling through the openings in the top crust, and the apples feel tender when pierced with the tip of a small knife.
That bubbling filling is especially important. It tells you that the juices have become hot enough for the flour to properly thicken the filling.
If your crust is becoming too brown before the apples are tender, loosely cover the top or edges with aluminum foil and continue baking until the filling is ready.
How Long Should Apple Pie Cool Before Cutting?
Let your apple pie cool for at least one hour before slicing it. As tempting as it is to cut into a pie straight from the oven, the filling needs time to settle and thicken as it cools.
For an especially clean slice, you can let it cool even longer. A warm pie will naturally be a little softer and juicier, while a completely cooled pie will hold its shape best when sliced.
Does Homemade Apple Pie Need to Be Refrigerated?
A freshly baked apple pie can generally be kept covered at room temperature for up to two days. After that, I recommend storing it covered in the refrigerator.
If you prefer your apple pie warm, reheat individual slices briefly before serving. I especially love it slightly warm with vanilla ice cream.
Can You Make Apple Pie Ahead of Time?
Yes. Apple pie is a wonderful make-ahead dessert, which is one reason it’s such a classic for Thanksgiving and holiday gatherings.
You can bake the entire pie one day ahead, allow it to cool completely and keep it covered until you’re ready to serve. This also gives the filling plenty of time to set, making the pie easier to slice.
If you’d like to serve it warm, gently reheat the pie before serving rather than trying to time a freshly baked pie around the rest of your meal.
Can You Freeze Homemade Apple Pie?
Yes, homemade apple pie freezes very well. Once the baked pie has cooled completely, wrap it tightly to protect it from freezer air and freeze it for up to three months.
When you’re ready to enjoy it, thaw the pie and warm it in the oven until heated through. Reheating it in the oven rather than the microwave also helps bring some of that wonderful texture back to the crust.
Tips for a Truly Good Apple Pie
-
Don’t overwork the filling. Toss gently to keep apple slices intact.
-
Let it cool. A warm pie smells wonderful, but a rested pie slices beautifully.
-
Serve simply. A scoop of vanilla ice cream or lightly whipped cream is plenty.
-
More Pie Recipes to Love
If apple pie is where you start, it doesn’t have to be where you stop.
You may also enjoy:
-
Our Easy Pie Crust Recipe (All-Butter, Flaky & Foolproof), the foundation for every good pie
- Easy Pumpkin Pie for Thanksgiving
-
Other seasonal and classic pie recipes from the Heirloomed Kitchen
- And, if you’re in the mood for more Apples, you’ll love these recipes & stories too.
Pie baking is less about perfection and more about practice — and finding the versions you return to year after year.
A Recipe That Feels Like Home
Apple pie has a way of anchoring a moment. It slows things down. It invites people to gather. It reminds us that some recipes don’t need updating — they just need to be made.
This is the apple pie recipe I hope you keep.